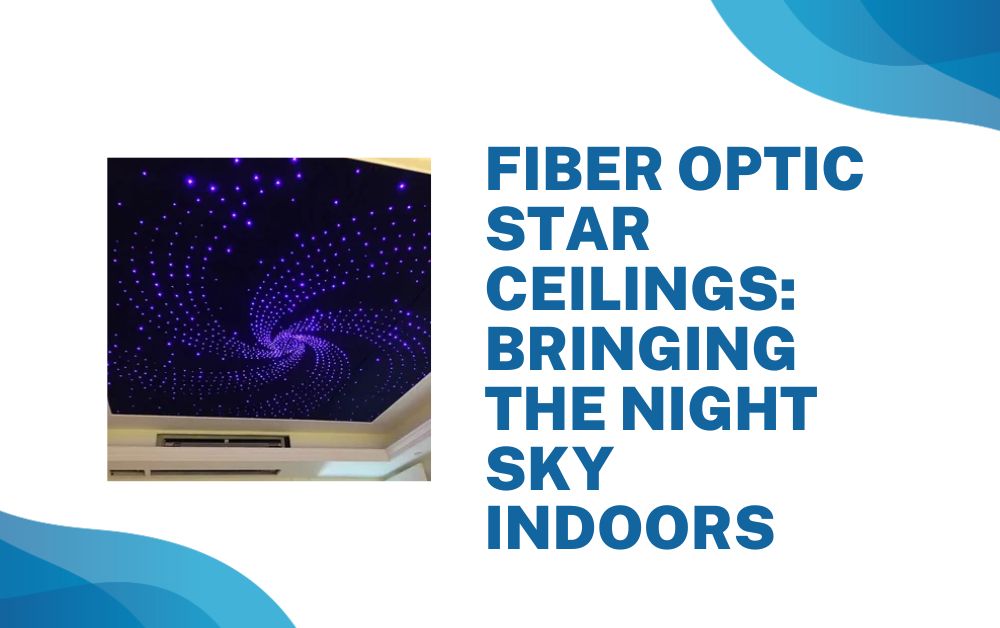
Have you ever wished to bring the mesmerizing beauty of a starry night right into your home or office? With fiber optic star ceilings, this dream can become a reality. These unique installations use tiny fiber optic strands to create a dazzling effect of a night sky indoors. Whether it’s for a home theater, a child’s bedroom, or adding a touch of romance to your bedroom, fiber optic star ceilings offer a magical touch.
What are Fiber Optic Star Ceilings?
Understanding the Technology
Fiber optic star ceilings are made using small, flexible fibers that transmit light from a single source to any point along their length. The ends of these fibers are designed to emit a small, bright light, mimicking the appearance of stars. This technology doesn’t only provide beautiful visuals but is also energy efficient and safe since the fibers themselves do not carry electrical current.
Why Choose Fiber Optic Star Ceilings?
Opting for fiber optic star ceilings comes with several benefits:
- Safety: As there’s no electricity in the fiber strands, they are completely safe to touch and install in various environments, including children’s rooms.
- Energy Efficiency: They consume less power compared to traditional lighting, making them a cost-effective option.
- Aesthetic Appeal: They transform a plain ceiling into a stunning night sky, adding value and beauty to any interior space.

How to Install Fiber Optic Star Ceilings
Step-by-Step Guide
Installing a fiber optic star ceiling might seem daunting, but with a little patience and the right tools, it can be a rewarding DIY project. Here’s how you can do it:
Planning Your Design
Start by planning out your star pattern. You can create constellations, random star fields, or even special patterns like galaxies.
Installing the Fiber Strands
- Mount the light source: Secure the light engine in a convenient, accessible spot.
- Drill holes in the ceiling: These will accommodate the fibers. The number and arrangement depend on your design.
- Thread the fibers: Insert them through the holes from the back of the ceiling. Ensure each fiber’s end is flush with the ceiling surface.
- Secure the fibers: Use clear adhesive to fix the fibers in place and trim any excess length from the back.
Testing Your Installation
Once all fibers are installed and secured, connect the light engine and turn it on to test your starry sky. Adjust any fibers as needed to achieve the desired effect.
Maintenance and Care for Fiber Optic Star Ceilings
Keeping Your Star Ceiling Sparkling
Fortunately, fiber optic star ceilings require minimal maintenance. Here are a few tips to keep them looking their best:
- Dust regularly: Use a feather duster to gently remove dust from the surface of your ceiling.
- Check the light source: Periodically check the light engine to ensure it’s functioning correctly. Most light engines have a long lifespan and require little attention.
Creative Ideas for Using Fiber Optic Star Ceilings
Beyond Just Ceilings
While traditionally used on ceilings, the versatility of fiber optic lights allows for much more creativity:
- Wall Accents: Create a glowing wall feature in a game room or children’s area.
- Outdoor Use: Install a fiber optic ceiling under a gazebo or porch for mesmerizing outdoor gatherings.
- Furniture Integration: Embed fibers into headboards or furniture for personalized decor.
Conclusion: Transform Your Space with Fiber Optic Star Ceilings
Fiber optic star ceilings offer an extraordinary way to enhance the ambiance of any space. They bring the magic of a starlit sky into your home, creating a peaceful, awe-inspiring environment. Whether for relaxation, aesthetic appeal, or simply to ignite the imagination of young ones, these installations are sure to dazzle anyone who experiences them. Embrace this stunning technology and let your rooms sparkle with the beauty of the stars.
For more insightful articles related to this topic, feel free to visit xgenblogs